Petticoats as Outerwear?

by Catherine Scholar, First published for the September/October 2012 issue of Finery
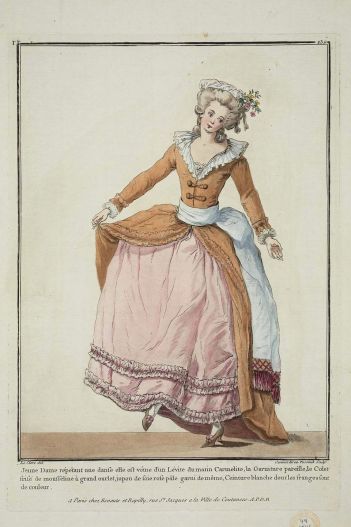
No, I’m not talking about the 1980s trend of wearing vintage Victorian petticoats as streetwear. Nor do I mean the 1990s slip-dress fad. I’m talking about skirts, circa 18th century. You see, before about 1800, any kind of free-standing skirt (not attached to a bodice) was referred to as a “petticoat”, whether it was worn as outerwear or underwear. Petticoats are an essential part of all 18th century ensembles, and are quick and simple to make without a pattern. These instructions will work for all social classes, whether you wear a bumroll, pocket hoops, or neither.
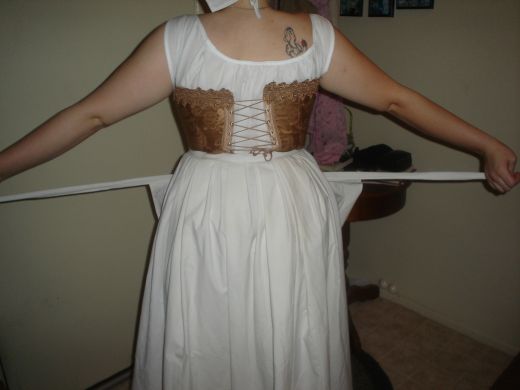
The main difference between an 18th century petticoat and a modern (or 19th century) skirt, is that there are two placket slits. The front and back of the skirt are placed on two separate waistbands, and each is tied on separately. This is a deeply unfamiliar construction technique for modern sewers, but it allows for great flexibility with fitting. So, if you gain or lose a few pounds, or loan your petticoat to a friend, it will still fit. This type of construction also allows you easy access to your pockets.
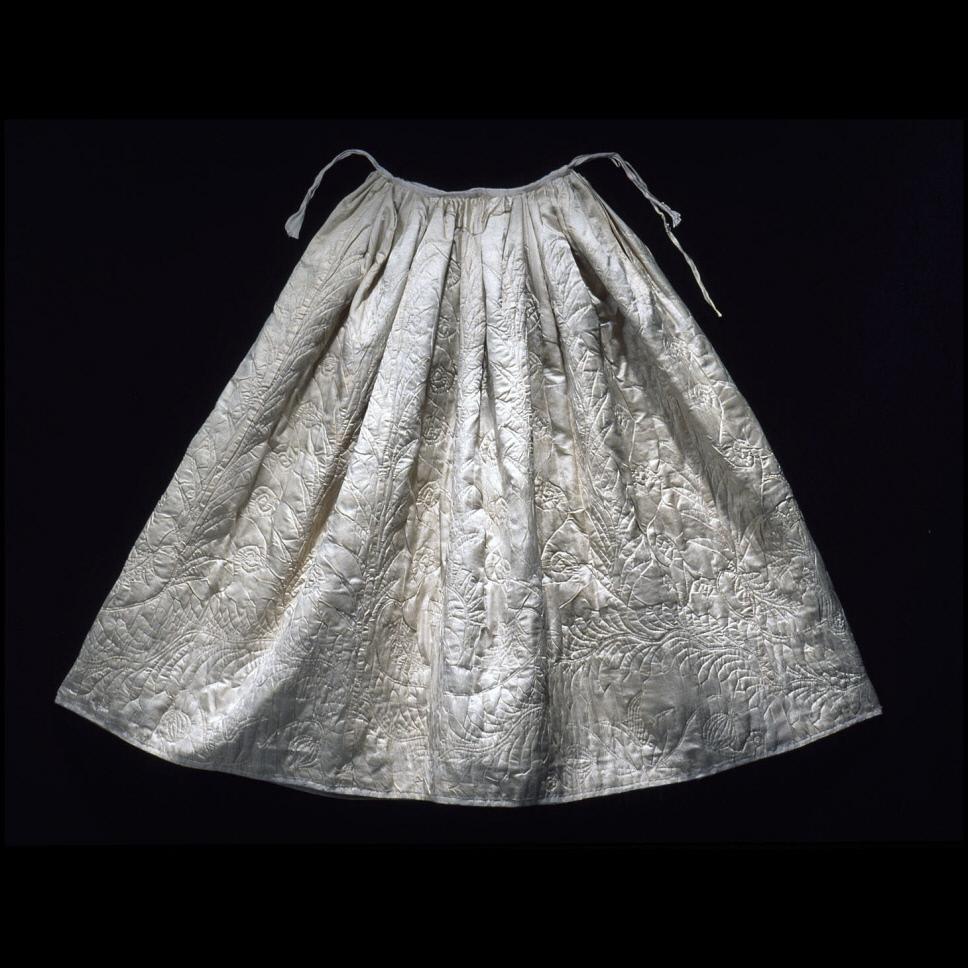
To make your petticoat: first choose your fabric. Cotton, silk, wool, or linen in solids or period prints, stripes or other patterns are perfect. Remember that cotton was a luxury textile at the time. Lower class clothing would be linen or wool. To help figure out which prints are period, take a look at Kendra van Cleave’s fantastic article on period printed cotton textiles: http://demodecouture.com/cotton/
Let’s get started! Have someone measure you, in your period shoes, skirt supports and underpinnings, from waist to floor at front, side, and back. Also take your waist measurement over your stays. Keep track of these measurements; they’re important! To figure out how long to cut your skirt pieces, take the longest of those measurements and subtract how far off the floor you want your hem to be. Skirts in the 18th century were shorter than periods before and after. Floor length is fine, but ankle length or even a bit shorter is perfectly acceptable. If your waist-to-floor measurement at center back, over your bumroll, is 50 inches, and you want your hem 5 inches off the floor, this number will be 45 inches. Now add your preferred hem allowance (I add three inches) and seam allowance for the waist (1/2 inch). If you use my allowances, you’re up to 48.5 inches. Add a couple more inches just to be safe, and cut or tear your fabric into straight panels (no gores!) at the determined length.
How many panels? It depends on how wide your fabric is. With 54 inch or wider fabric, you need only two panels, even for over modestly-sized panniers. If you’re doing a massive court hoop, you’ll have to do your own math! With 45 inch fabric, you’ll want three panels unless you’re tiny and can get away with two. Don’t worry if you’re plus-sized; these guidelines will still work. This isn’t a hugely-full skirt period.
To assemble the petticoat with two panels: sew the panels together at both selvages, right sides together, leaving both sides open the top 8-10 inches. (I’m assuming ½” seams throughout.) Press seams open and stitch down the selvages at the open parts of the seams to make a placket. Put in your hem as planned (yes, before the waistband!).
If you are using three panels, sew them together, waist to hem, right sides together. Do not leave any part of the seam unstitched. Press the seams open. Hem the skirt, using the hem allowance you decided on earlier. Now choose one of the seams to be your center back, and mark the center front and sides by quartering the skirt waist. At the sides, cut slits 8-10” long straight down, and finish them by rolling the edges, or putting in a proper placket.
Now we adjust the length using a historical technique called “balancing” a skirt. Once you get the hang of this, it is so much easier than trying to mark a hem! Take your back waist-to-hem measurement and measure up your petticoat from the hem, marking the waist where the measurement ends. Do the same at the sides and back. If your back measurement is 45”, side is 43”, and front 41”, you will measure up the back from the hem 45 inches, and mark it with a pin, the side 43 inches and mark, and the front 41. Fold the upper edge under, making straight folds from pin to pin, and press. You may need to make a small slit at the center front upper seam allowance if it won’t sit nicely. Finish the top edge of the petticoat. Alternatively, you can cut away the excess above the marks. In period, fabric was expensive and they would have avoided cutting it to leave room for future alterations.

Cut your waistbands! Remember that you need two waistbands, front and back. Each one is cut a bit big so they will overlap a little. Find the waist measurement you took earlier. Divide it in half and add three inches. If your waist is 30 inches, cut each of your two waistbands 18 inches by three.
Gather or pleat your skirt to the waistband, leaving ½” of seam allowance at each short side. If you folded the top of your skirt, you can just encase the edge of the fold in the waist band seam. Finish the waistband, and add long ribbon or twill tape ties to the short ends. I like to add a small “tag” of ribbon or twill tape to mark the center back. Alternatively, to a traditional waistband, you can use a 2” twill tape or ribbon as your waistband. Just fold it over the top edge and stitch. When I do this, I cut the ribbon long enough to incorporate the ties in one piece. Trim as needed, and you’re done!
To wear your petticoat, tie the back ribbons at the front of your waist. Then tie the front ribbons in back letting the front edges of the plackets lap over the back. This overlap creates a “pocket” opening that allows you to access your hanging pockets. You can also make the front ties long enough that you can wrap them around your waist and also tie them in front.
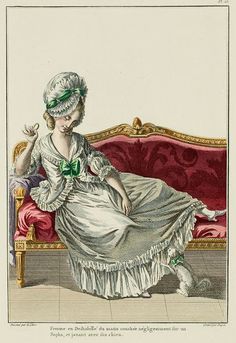
Now, we all know that one petticoat isn’t enough, RIGHT? You need your outer, or dress, petticoat, the fashion statement. And then you need at least one under-petticoat, to make your skirt poof and not cling to your legs. So, go make another one!
Leave a comment